5 Sewing Tips for Silk Fabrics: My Daughter's Silk Graduation Dress
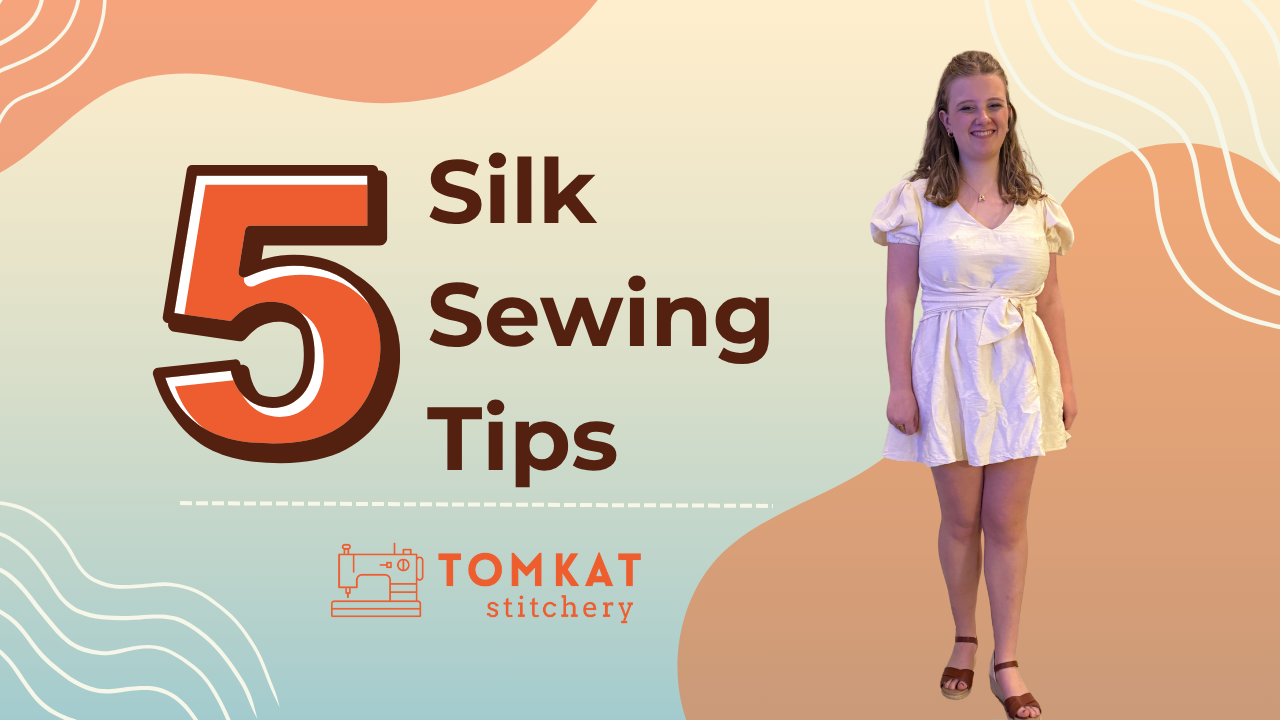
I just finished sewing my daughter’s graduation dress — and I have to tell you about it, plus share my top sewing tips for working with silk. This project had a little bit of everything: meaningful fabric, a tight deadline, and a beautiful finished result that made it all worth it. You can also watch the video version of this post on YouTube by clicking below.
We used the Gracie Wrap Dress by The Bold One Patterns. It’s not a true wrap dress, but the design gives you that look with clever ties at the waist. I used the projector file (so fast!) and didn’t make a single fit adjustment — aside from adding a bit of length to the bodice, which I’ll explain in a minute.

Now, the silk. This wasn’t just any fabric — it was silk dupioni from a friend’s wedding dress stash! (You can find a similar fabric at Mood* The texture was lovely and crisp, perfect for holding the puff sleeve shape and giving the skirt some beautiful movement. The color was just off-ivory, and while it wasn’t the perfect tone for my daughter, it still looked amazing on her. Bonus: the dress has pockets!
The only minor tweak I’d make next time? I’d add about an inch to the bodice for my daughter’s long torso. But overall, the fit was great, and she felt confident and elegant walking across the stage.
If you’ve ever been nervous about sewing with silk, I get it — it can seem intimidating. But it doesn’t have to be! With the right approach, it’s actually a dream to work with. Here are my five favorite sewing tips for working with silk:
1. Choose a structured silk to start.
If you’re new to silk, try dupioni, shantung, or raw silk. These have more body and are easier to sew than slippery charmeuse or chiffon.
2. Yes, you can pre-wash silk!
I pre-wash silk on the delicate cycle using Soak or a gentle detergent, then toss it in the dryer. It helps relax the fabric just enough to make sewing easier. After the garment is made, I hand wash and air dry from then on.
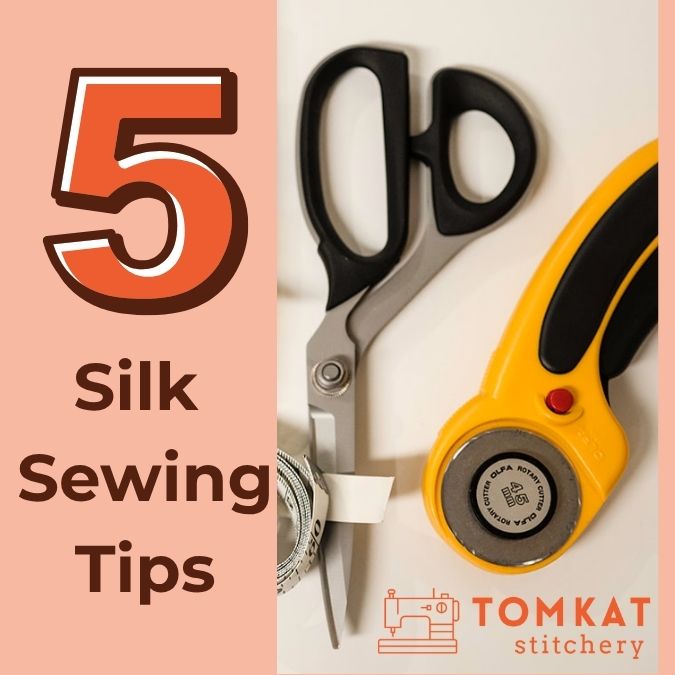
3. Use sharp sewing tools.
A sharp rotary blade or pair of fabric scissors is essential when cutting silk. A dull edge can snag or shift the fabric. I use a fresh Kai Scissors rotary blade and Serrated Shears (check the Resources page for a coupon!)
4. Cut with care.
If your silk is especially slippery, cut it in a single layer and consider misting it lightly with spray starch to stabilize it. It makes a big difference!
5. Use a fine needle and the right foot.
A new Schemtz Microtex needle (size 10 or 12) is ideal for sewing silk. And if you have a walking foot or dual feed, use it — it keeps your layers moving evenly and avoids puckering.
Sewing with silk isn’t as scary as it sounds — especially when you follow a few tried-and-true sewing tips. Once you’ve made your first silk garment, you might even find it’s one of your favorite fabrics to work with. I know I have!