Sew An Easy Alternative Waistband Finish-Tutorial
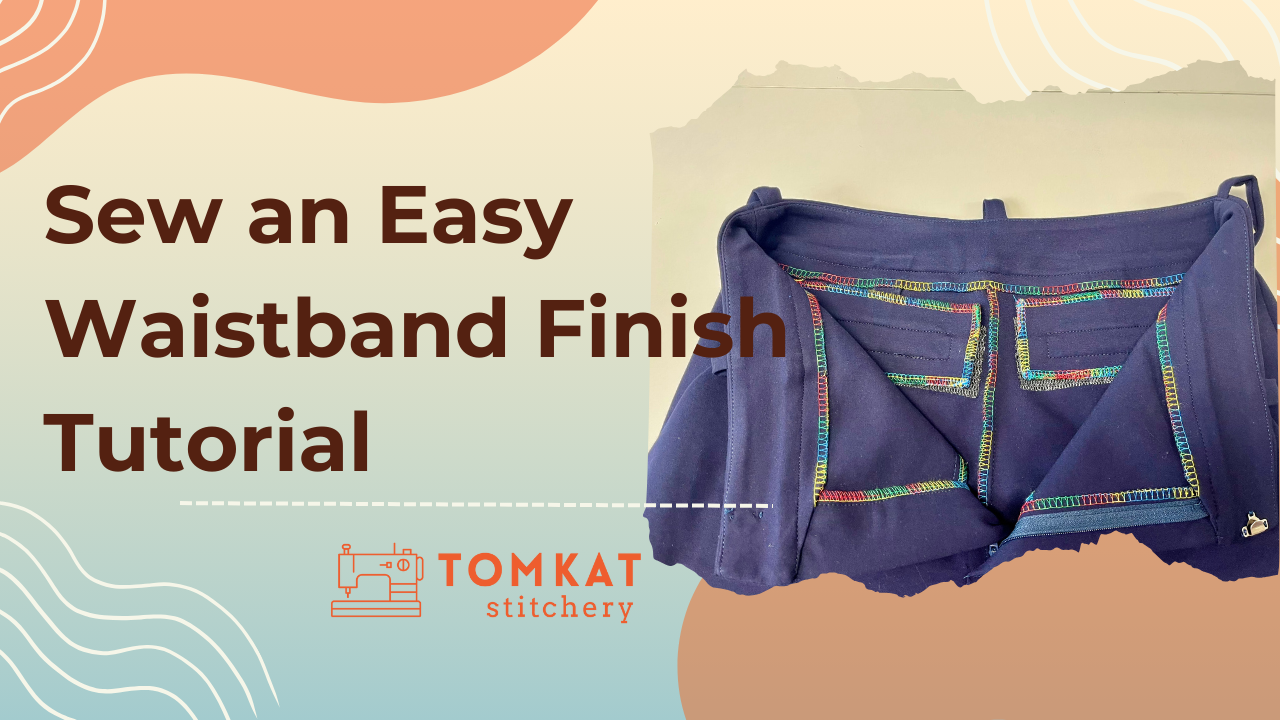
If you’ve ever sewn a pair of trousers and wished the waistband looked a little more polished—and a little less bulky, this will be your new favorite trick. I’m walking you through an alternative waistband finish that skips visible topstitching and creates that clean, ready-to-wear look you often see in store-bought trousers. I’ll demonstrate on my Love Notions Bridget Trousers* but you can use it on any of your favorite patterns. It’s a simple, sleek method for a beautifully streamlined finish. Read on or watch here:
Gather your Pattern Pieces and Supplies:
- Your pants assembled up to the point of adding the waistband
- Outer waistband (interfaced)
- Inner waistband (un-interfaced)
- Finished bottom edge on the inner waistband (serged, zig-zagged, or bias bound)
- Pins or clips
- Sewing machine + iron
- Optional: tailor’s ham for easier pressing
Step-by-Step: The Alternative Waistband Finish
-
Prep Your Pants & Waistband Pieces
- To start, turn your garment inside out.
- If you are adding belt loops, make sure they are basted in place at ¼".
- Align your interfaced outer waistband to the top of the pants, matching side seams.
- Remember, to extend the waistband past center front by your seam allowance (⅜" in this example).
- Stitch the Outer Waistband On
- Sew the waistband to the pants with the interfaced side facing up.
- Be cautious sewing over your zipper. If your zipper has metal teeth, proceed slowly as to not break a needle.
- Once sewn, double check that nothing accidentally folded under.
- Trim the zipper and any excess fly shield length.
- Press the Seam Allowance Up
- Use a tailor’s ham for more control and press the seam allowances up toward the waistband.
- Baste Belt Loops to the Top Edge
- Pull the belt loops up and baste them to the top of the waistband at ¼".
- Add the Inner Waistband
- Turn the pants right side out.
- Pin the inner waistband to the outer waistband, right sides together, matching raw edges.
- Sew only along the top edge.
- Understitch for a Clean Roll
- Press the seam allowance toward the facing.
- Understitch close to the seam (about 1/16") to keep the seam rolled neatly to the inside.
- Finish the Short Ends (The “Burrito Method”)
This part feels fiddly, but it gives a gorgeous result!
- Fold the facing down so the seam allowance flips up.
- Wrap the facing around the outer waistband so they’re right sides together.
- Sew from the fold down to the previous stitch line, then pivot and sew about an inch along the seam.
- Repeat on the other end, sewing from the opposite direction.
- Trim corners and seam bulk.
- Turn right side out and check the crisp edges—SO satisfying.
- This is demonstrated at 9:50 of the video above
- Secure the Inner Waistband
- Press the waistband so the facing naturally rolls to the inside.
- The finished edge of the facing should cover the main seam allowance by your seam allowance amount (⅜").
- Pin well—either from the right side or by turning the pants inside out.
- Stitch in the Ditch
- Sew from the right side, stitching exactly in the seam between the waistband and pants.
- Lift belt loops up as you sew underneath them (or topstitch them down if preferred).
- This secures the facing invisibly and finishes the inside beautifully.
- Final Press
- Press the waistband and belt loops for a crisp, ready-to-wear finish.
- Enjoy your super clean, professional waistband—no visible topstitching required!
Why I Love This Method
This clean, streamlined finish is how many ready-to-wear trousers are constructed, and it feels luxurious inside the garment. I reach for this technique over the traditional “fold under and topstitch” method whenever I'm making dressier trousers or simply want a polished finish with less fiddly work.
If you're making the Love Notions Bridget Trousers*, this is a great optional method to try—and once you sew it once, you may never go back!
*Affiliate links included—thank you for supporting my work! No extra cost to you, but I may earn a commission. Offers may change.