Fitting the Cashmerette Wyman Sloper: My Adjustments and Results
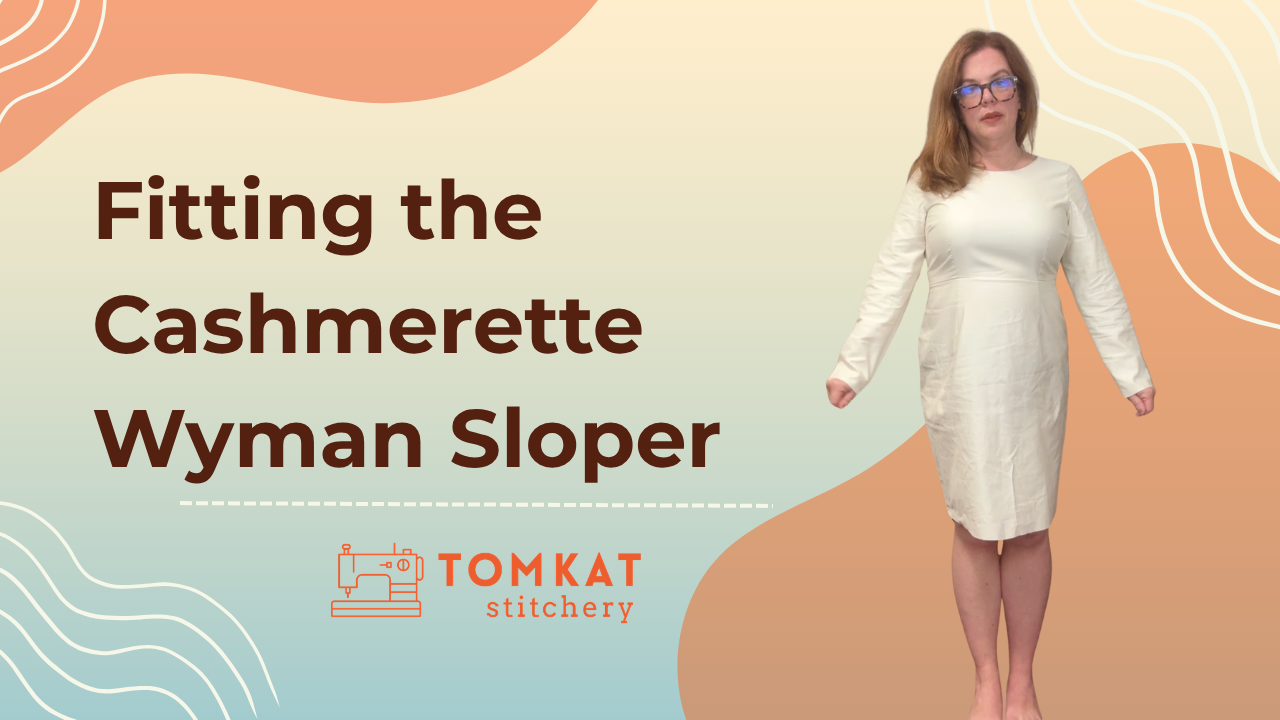
I've sewn enough Cashmerette patterns over the years that I have a pretty good idea of the adjustments I typically need. But I've been wanting to create a fitted dress sloper that I can use as a foundation for drafting my own designs.
That's where the Cashmerette Wyman Sloper comes in!
Today, I'm sharing what a dress sloper is, what it can (and can't) do, and how I worked through several muslins to get a fit I'm really happy with.
Read on or watch the video here:
What Is a Dress Sloper, and Why Would You Want One?
A dress sloper is a basic, closely fitted sewing pattern with very little wearing ease. It typically includes a fitted bodice, high neckline, fitted sleeves, and fitted skirt.
Pattern designers use slopers, sometimes called blocks, as the foundation for drafting other patterns. A woven dress sloper can be used to develop tops, skirts, dresses, and sleeves.
The Cashmerette Wyman Dress Sloper* is especially useful if you regularly sew Cashmerette patterns. Once you've fitted it to your body, you'll have a better understanding of the adjustments you may need when sewing other designs from their catalog.
Can You Use One Sloper to Fit Patterns From Different Companies?
Not exactly. Each pattern company drafts from its own block, with different measurements, proportions, and fit models.
While some fitting adjustments may carry over, you can't simply lay your finished Cashmerette sloper over another company's pattern to determine every adjustment you need. Doing so could actually create fitting problems.
Even within Cashmerette's catalog, I won't necessarily need every adjustment from my sloper. A broad back adjustment might be unnecessary in a garment with plenty of ease, and a fuller sleeve may not need a bicep adjustment.
The other big advantage of a sloper is pattern drafting. I love recreating garments I've spotted in stores or on television, and having a fitted foundation makes that process much easier.
Starting With the Cashmerette Wyman Sloper
I started with my usual Cashmerette size 10 GH cup, although my measurements actually fall into three sizes:
- Bust: Size 10 GH cup
- Waist: Size 12
- Hips: Size 8
I have a fairly straight shape through my waist and hips, with a fuller bust. Cashmerette drafts for more waist-to-hip curve than I naturally have, so I frequently grade to a size 12 at the waist.
For my first muslin, I started with a straight size 10 and made two length adjustments:
- Shortened the bodice by 1 inch.
- Shortened the skirt by 1 inch at the lower lengthen/shorten line.
Cashmerette drafts for a 5'6" fit model, and I'm 5'2" with a particularly short torso. I thought I knew what adjustments I'd need, but as it turned out, I should have started with the pattern as drafted!
My First Muslin: Identifying the Fitting Issues
I used an old cotton bedsheet for my muslins. The lightweight fabric was perfect for evaluating fitting wrinkles, and it gave that worn-out sheet a new purpose.
My first version revealed several issues.
Was the Bodice Too Short?
Yes! The waistline wasn't sitting where it should, and the skirt was hitting above its intended position at the top of my knee.
Cashmerette drafts its waistline slightly above the natural waist, which actually works well for my short torso. I had shortened the bodice unnecessarily.
Fortunately, the Wyman includes 1-inch seam allowances, giving me room to experiment with lowering the waist seam before making permanent adjustments.
What Were the Wrinkles Across the Back Telling Me?
I noticed bunching and drag lines around the lower back, particularly on the skirt portion. This indicated that I needed a sway back adjustment on the skirt rather than the bodice.
The waist also felt snug, and I was having difficulty moving comfortably in the sleeves.
I wanted to correct the length first, then evaluate the remaining fitting issues.
My Second Muslin: Getting Closer to the Right Fit
For my second version, I worked on the waist position and the excess fabric at the lower back.
I was much happier with the results! The waistline was sitting better, the sway back adjustment was working, and my bust darts were positioned exactly where they should be.
But I still couldn't comfortably reach forward, which told me I needed additional room across my back and through the sleeves.
How Did I Determine My Broad Back Adjustment?
I cut openings in the back of my muslin and had my husband measure how far they spread while I was wearing it.
Using those measurements, I determined that I needed a ½-inch broad back adjustment to give myself enough room to move comfortably.
How Much Room Did I Need in the Sleeves?
My bicep measures approximately 13 inches, and the sleeves felt restrictive. I decided to make a 1-inch full bicep adjustment.
Because a sloper has very little wearing ease, checking movement is particularly important. A garment can look great while you're standing still but feel completely different when you reach forward or sit down.
Why Did I Add Width at the Waist?
I also needed additional room through the waist.
I added ⅜ inch at each of the four waist side-seam edges, creating approximately 1½ inches of additional circumference.
This straightened the waist-to-hip curve to better match my proportions rather than maintaining the more pronounced curve drafted into the pattern.
My Final Cashmerette Wyman Sloper Adjustments
After evaluating the earlier versions, I cut a fresh muslin incorporating all my adjustments.
Here's what ultimately worked for me:
- Starting size: Cashmerette 10 GH cup
- Bodice length: Returned to the original drafted length
- Skirt length: Shortened 1 inch
- Broad back adjustment: ½ inch
- Full bicep adjustment: 1 inch
- Sway back adjustment: ½ inch on the skirt portion only
- Waist adjustment: Added approximately 1½ inches of circumference
- Hip: Kept the size 10 rather than grading down to an 8
I could have taken the hips in further, but I prefer having a little curve through that area. It creates a silhouette I like, even though my natural hip measurement is smaller.
And I'm pleased as punch with how this final version turned out!
The neckline looks great, my bust darts are in the right place, the back is smooth, and I can move comfortably. I even sat down to answer emails while wearing the muslin to make sure it wasn't restrictive.
Should You Eliminate Every Wrinkle in a Sloper?
Not necessarily!
My finished sloper still has some wrinkles, especially in the sleeves. But I'm using lightweight cotton fabric that I wouldn't normally choose for such a fitted dress.
I checked the sleeves carefully to make sure they weren't catching or bunching because of a length issue. They weren't.
Interestingly, I didn't need to shorten the sleeves at all, despite being 5'2". My arms and legs are proportionally longer than my torso, which is a great reminder that height alone doesn't determine the length adjustments we need.
What Should You Do Once Your Sloper Fits?
Once you've completed the fitting process, I recommend making a durable master copy of your sloper using oak tag, cardboard, or another sturdy pattern material.
I prefer to trace my sloper without seam allowances. When I'm ready to draft a new design, I'll trace the pieces from my master copy, make the design changes, and add seam allowances afterward.
This protects the original sloper and makes drafting easier.
There are so many possibilities once you have a reliable foundation, from simple design changes to more involved pattern drafting.
Want to Learn How to Fit Your Own Sloper?
If you're interested in working through this process with guidance, Cashmerette is offering Sloper School, a program designed to help you create your own personalized sloper.
Enrollment is only open through October 31, 2026!
There are two ways to enroll:
- Sloper School: A one-time payment of $349.
- Cashmerette Club All Access: Sloper School is included at no additional cost, along with the other All Access membership benefits.
Use my code TOMKAT10 to save $10 on your first year of Cashmerette Club All Access. That brings your first-year membership price to $158, with over $2,000 in stated value from the included benefits!
You can also cancel before your membership renews if you don't want to continue for another year.
Learn More and Sign Up for Cashmerette Sloper School*
What's Next for My Wyman Sloper?
I'm thrilled with how my finished sloper turned out, but the fitting process was really just the beginning.
Next up, I'm using my fitted Wyman Sloper to draft a dress for Thanksgiving! In part two, I'll walk you through the changes I'm making and show you how this basic fitted sloper can become something completely different.
*Affiliate links included—thank you for supporting my work! No extra cost to you, but I may earn a commission. Offers may change.