From Sloper to Custom Dress: Sleeveless Wool Dress
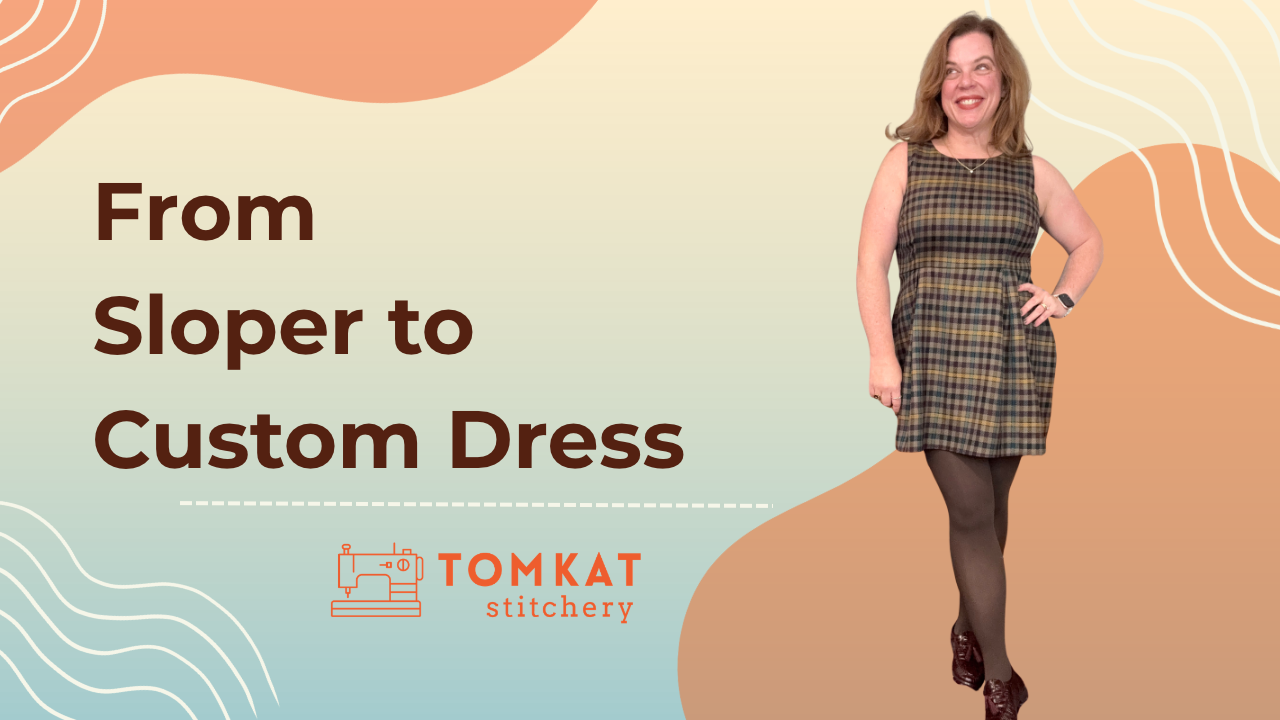
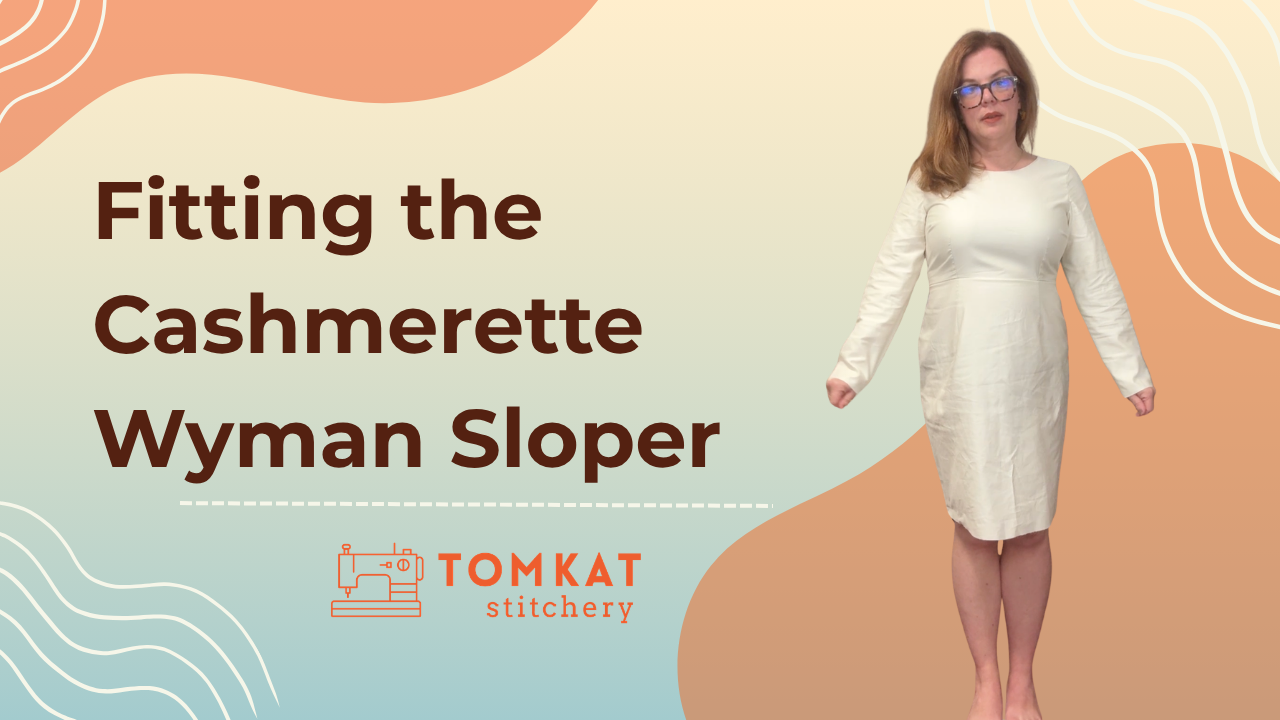
I recently shared my experience fitting the Cashmerette Wyman Sloper and talked about why having a well-fitting sloper can be such a useful tool in your sewing room. But getting that sloper to fit is really just the beginning! Today, I'm showing you how I took my fitted sloper and turned it into a completely different dress.
I had a particular dress in mind: a sleeveless, fitted bodice with a short A-line skirt, deep box pleats, and a full lining. I also had a beautiful plaid wool suiting in my stash that I thought would be perfect for a fall and winter dress.
The best part? I didn't have to start from scratch with fitting. Since I'd already done that work with my sloper, I could concentrate on making the design changes I wanted.
I'm walking through the pattern drafting process, including how I changed the armholes for a sleeveless dress, converted the skirt darts into an A-line shape, and added those box pleats.
Read on or watch here:
Starting with a Well-Fitting Sloper
➡️Check out this previous post where I started this project with the Cashmerette Wyman Sloper*.
I spent time getting the bodice and skirt to fit my body, which gave me a great starting point for creating something new.
After watching my original fitting footage, I did make one small adjustment. I noticed some wrinkles near my underarm that appeared after I'd been moving around. By slightly changing the shape of my bust dart, I was able to remove that extra fabric.
I also received some comments about the waistline sitting above my natural waist. That's intentional! Cashmerette drafts the waistline slightly higher, which can be a comfortable placement, particularly when our waist measurements fluctuate throughout the day. I also have a naturally high waist, so the placement works well for me.
With those details sorted out, I was ready to start designing.
Why Use a Sloper to Create Your Own Sewing Patterns?
A sloper gives you a fitted foundation that you can use to develop different garment styles. Rather than making the same fitting adjustments every time you try a new design, you're starting with a pattern that already reflects your proportions.
For this dress, I kept the fitted bodice and its darts but changed the armholes, shortened and reshaped the skirt, and added pleats.
None of these changes required particularly complicated drafting techniques. That's what makes this such a fun project to try once you have a sloper you're happy with.
Choosing the Fabric and Designing the Dress
For my main fabric, I chose a beautiful plaid wool suiting that was gifted to me by a viewer. She also sent a coordinating mustard-colored solid wool, which I can absolutely imagine turning into a jacket or blazer someday.
I may even have enough plaid left for a pair of wide-leg pants!
The plaid influenced several of my design decisions. I wanted the skirt to have some fullness, but I also wanted the horizontal lines of the plaid to look straight across the hem. A short A-line skirt with deep box pleats seemed like a great solution.
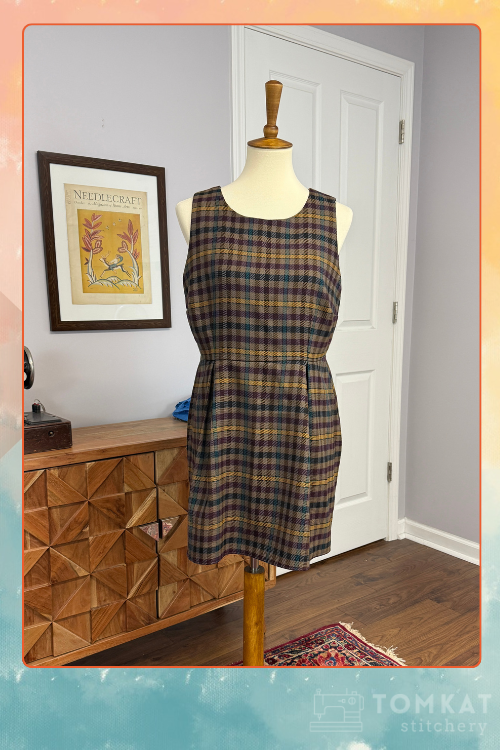
For the lining, I chose a contrasting silk charmeuse in a dark purple/fuchsia shade. It's a lovely surprise inside the dress, and I'm really pleased with how it turned out.
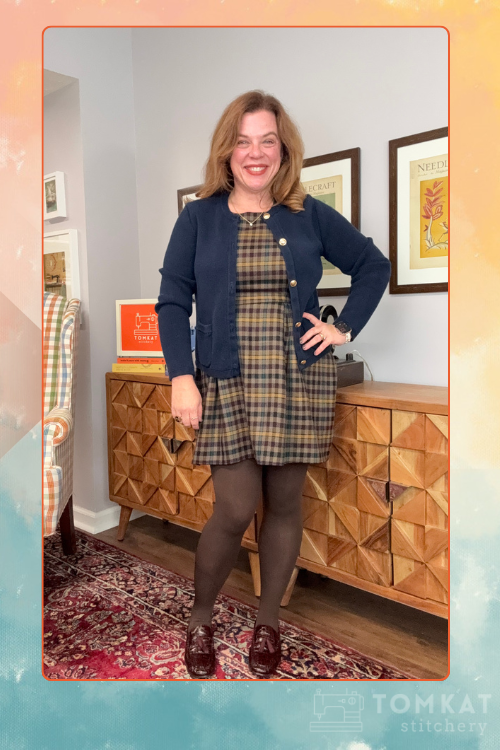
I also knew I wanted this dress to be versatile. My plan is to wear it over button-up shirts and turtlenecks, but I can also wear it on its own with a cardigan or jacket.
And I've already decided that this is going to be my Thanksgiving dress! I'm hosting this year, and even though the bodice is fitted, it's comfortable enough that I'm looking forward to wearing it all day.
Preparing the Sloper for Pattern Drafting
Before making any changes, I traced my fitted sloper onto fresh pattern paper.
This is something I definitely recommend. Once you've spent the time getting a sloper to fit, you don't want to cut into your original pattern.
I keep my master sloper without seam allowances, which makes it easier to trace and manipulate. I add the seam allowances back after I've finished drafting each new pattern piece.
Tools I Used
- Pattern paper (I use medical exam paper)
- Pencil and tape
- Paper scissors
- Straight ruler, preferably a transparent quilting ruler
- Hip curve or curved ruler
- Tracing wheel
- Magnetic cutting board to keep pattern pieces from shifting
A magnetic board is especially handy for this kind of work because you're constantly moving and repositioning paper pieces.
With my front and back bodice and skirt pieces traced, I was ready to make the changes.
How Do You Turn a Sloper into a Sleeveless Bodice?
One of the first things I wanted to change was the bodice.
The original Wyman Sloper includes sleeves, but you can't necessarily create a well-fitting sleeveless garment by simply leaving them off.
A pattern designed for sleeves typically includes additional ease around the armhole to accommodate movement. Without the sleeve, that extra room can cause gaping, especially underneath the arm.
The shoulder may also extend farther than you'd like for a sleeveless design.
Adjusting the Armhole
I started by putting on my fitted sloper with the armhole seam allowances removed. Then I pinched out the extra fabric underneath my arm to determine how much I wanted to remove.
I also checked the height of the underarm to make sure my bra would be covered when wearing the dress without another layer underneath.
Here are the changes I made:
- Underarm width: Brought the armhole in 3/8 inch at the side seam.
- Underarm height: Raised the armhole 3/8 inch.
- Shoulder width: Moved the outer shoulder point inward 3/4 inch.
- Armhole shape: Redrew the curve to connect the new points smoothly.
- Darts: Left the existing fitted bodice darts unchanged.
I repeated those adjustments on the back bodice and then walked the front and back seamlines together, with the darts folded out, to make sure everything still matched.
Ideally, I would have made another muslin at this point. But I decided to live on the edge a little and go straight into my fabric!
Preparing the Bodice Lining
Because this dress is fully lined, I also needed to think about how the lining would behave around the neckline and armholes.
I used the same pattern pieces for the outer bodice and lining, but after cutting the lining, I trimmed 1/8 inch from the neckline and armhole edges.
That small adjustment helps encourage the lining to roll toward the inside of the garment rather than showing along the finished edges. I also planned to understitch where possible.
For seam allowances, I used 1/2 inch throughout most of the bodice, with 5/8 inch at the center back for the zipper.
Turning the Straight Skirt into an A-Line
With the bodice drafted, it was time to tackle the skirt.
I wanted a short, slightly flirty silhouette with fullness at the hem and a fitted waist. My original sloper skirt was much straighter, so the first step was creating an A-line shape.
Shortening the Skirt
I started by shortening the original skirt pieces by 6 inches, bringing the finished length to approximately mid-thigh on me.
Then I drew a balance line perpendicular to the grainline. This gave me a reference point as I manipulated the pattern.
Converting the Skirt Darts into Fullness
One of my favorite parts of this process is seeing how easily a dart can be transferred into a completely different shape.
Here's how I converted the skirt:
- Drew a line from the hem through the center of the waist dart, parallel to the grainline.
- Cut along that line from the hem to the dart point, leaving a small paper hinge.
- Cut along one dart leg to the same hinge point.
- Closed the original waist dart, allowing the pattern to spread open at the hem.
- Taped paper behind the opening to secure the new A-line shape.
By closing the waist dart, I transferred that shaping into fullness at the bottom of the skirt.
I repeated the process for the back skirt.
Why I Kept the Skirt Lining A-Line
Before adding any pleats, I traced the newly drafted A-line skirt pieces to create my lining.
I intentionally left the lining without pleats.
If I'd added the same deep pleats to both the wool skirt and silk lining, there would have been quite a bit of extra fabric gathered into the waist seam. I wanted to keep that area as smooth and comfortable as possible.
The A-line lining provides room underneath the skirt without creating unnecessary bulk.
I also made sure the lining would finish at least 1/2 inch shorter than the outer skirt so it wouldn't peek out beneath the hem.
How to Add Box Pleats to an A-Line Skirt
Now for the design detail that really changes the look of this dress: the box pleats!
I wanted two box pleats in the front and two in the back, positioned where the original skirt darts had been.
That placement allows the pleats to line up nicely with the darts in the fitted bodice.
Drafting the Box Pleats
I started with my newly drafted A-line skirt and drew a vertical line through the location of the original dart.
Then I cut the pattern along that line and spread the pieces apart, inserting additional paper to create the pleat allowance.
In the video, I initially added 2 inches of width for each pleat.
Once the paper was inserted, I marked the center and folded the pleat into position. With the pleat folded, I trued the waistline and marked the notches so I'd know exactly where to fold the fabric during construction.
I repeated the process for the back skirt.
⭐One important change: After finishing the drafting demonstration, I slept on my decision and decided those pleats needed to be more dramatic.
Before cutting my fabric, I increased the pleat depth from the original 2 inches shown in the video to 4 inches.
The deeper pleats gave me the fuller skirt I had envisioned, and I'm very happy I made that adjustment.
Keeping the Plaid Straight at the Hem
Working with plaid meant paying a little extra attention to the hemline.
After converting the darts into an A-line shape, the hem had some curvature. I wanted the plaid lines to appear straight across the finished dress, so I adjusted the pattern to create a straighter hem.
I also made sure the front and back skirt side seams matched before finalizing the pieces.
For the outer skirt, I added a 1 1/2-inch hem allowance, giving me enough depth for a nice finish in the wool suiting.
It's a small detail, but one that makes a difference when you're working with a prominent horizontal plaid.
Sewing and Finishing the Custom Dress
Once the drafting was complete, I had my new pattern pieces ready to cut:
- Sleeveless front and back bodice pieces
- Front and back A-line skirt lining pieces
- Front and back outer skirt pieces with box pleats
I cut the bodice from both the wool and silk lining, while the skirt lining remained a simple A-line.
For the closure, I chose a slot zipper at the center back rather than an invisible zipper. With the wool suiting, I wanted something that would be easy to zip and unzip without worrying about the fabric catching.
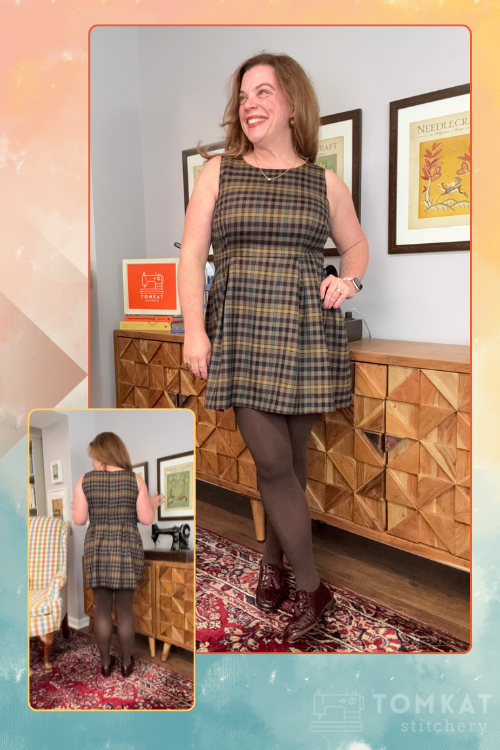
The finished dress has a fitted bodice, four deep box pleats, a short A-line skirt, and that beautiful silk charmeuse lining.
The Finished Dress: Was It Worth Drafting from a Sloper?
Absolutely!
I love how this dress turned out. The fitted bodice gives it structure, while the deep pleats add movement and make the skirt feel a little more playful.
It's exactly the kind of garment I wanted for fall and winter. I can layer it over a shirt or turtleneck, wear it sleeveless under a cardigan, or dress it up with a jacket.
And because I started with my fitted Wyman Sloper, I had confidence in the fit before making all these design changes.
That's what I find so exciting about learning to use a sloper. It gives you the freedom to take an idea you have in your head and turn it into something that fits your body and your personal style.
If you've been working on fitting your own sloper, I hope this gives you some ideas about what you can do with it once you're happy with the fit.
*Affiliate links included—thank you for supporting my work! No extra cost to you, but I may earn a commission. Offers may change.