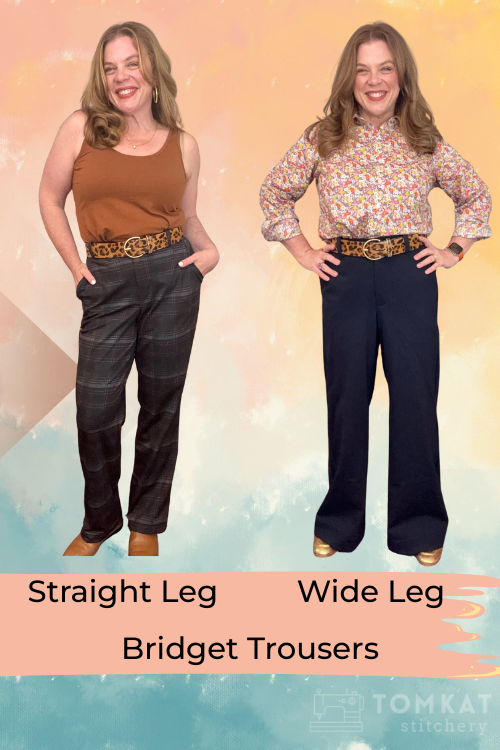
Straight to Wide-Leg Sewing Pattern Tutorial (Plus an easy waist adjustment)
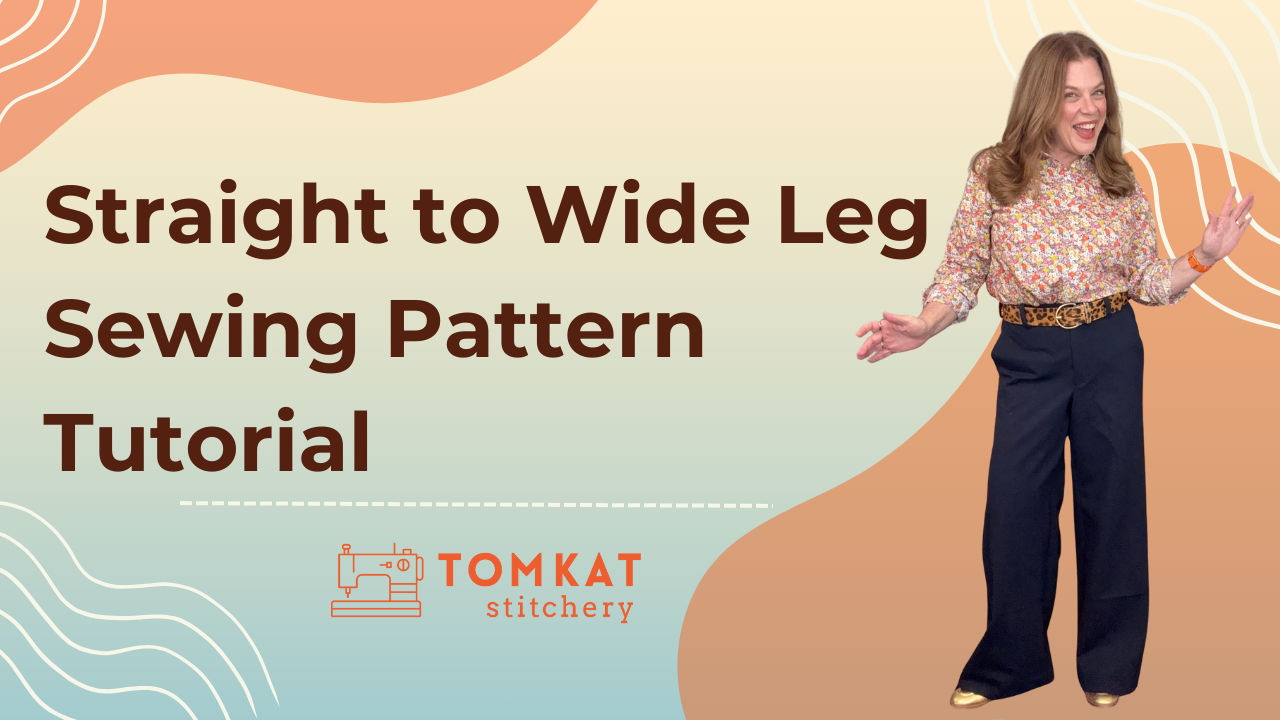
If you’ve ever slipped on a pair of pants and thought, “I love the fit… but I wish the leg had a little more drama,” this one’s for you! Today I’m walking you through my go-to sewing pattern tutorial for turning a straight-leg trouser pattern into a fabulous wide-leg silhouette. I’m using the Love Notions Bridget Trousers*, but truly—this wide-leg pants tutorial works for almost any pant pattern, woven or knit. I’m also sharing how I quickly adjust the waist when my measurement falls across multiple sizes without grading. Read on or watch me at the cutting table:
Step 1 — Choose Your Size Based on the Hip, Then Adjust the Waist
One of the most common fitting questions I get is: What if my waist and hip fall into different sizes? The answer—don’t overthink it! Pick your size based on your full hip measurement, then adjust the waist.
Here’s why: if your waist sits in a larger size than your hips, you likely need a straighter hip curve rather than a full grade between sizes. This method keeps your proportions balanced and your side seams smooth.
How I add 1.5" to the waist (total):
• Add 3/8" to the top of each back leg side seam.
• Add 3/8" to the front pocket bag (not the front leg)—this preserves the shape of the slash pocket.
• Add 3/8" to each of the three waistband pieces (left, right, and back).
This gives you a comfortable extra 1.5" at the waist without wrestling with multiple nested size lines.
Step 2 — Add Width to Create a Wide-Leg Silhouette
Ready for that swishy, modern wide-leg look? Let’s do it! This alteration adds 3" to the front and 3" to the back, giving you a full 6" wider hem circumference. It’s dramatic, but in the best way.
Here’s the simple method:
- Determine your desired inseam length
- At the hem of both the front and back pieces, measure out 1.5" from the original side seam and inseam
- To the back pattern piece, use a ruler or yardstick to connect that mark to a point just below the hip notch, blending smoothly.
- On the front inseam, straighten the slight curve using a French or hip curve for a clean line before connecting to your added width.
- Repeat the same steps on the front pattern piece
Once both legs are adjusted, you’ve created a beautifully balanced wide-leg shape that swings and moves without feeling overwhelming.
Final Thoughts Before You Cut
After the changes are drawn in, simply cut your pattern as usual and follow the regular instructions. These kinds of simple alterations give you endless ways to personalize patterns you already love—whether you want a trendier look or just a fresh spin on a tried-and-true design.
And trust me… once you try this, you may find yourself making more than one pair. I’m obsessed with mine!
*Affiliate links included—thank you for supporting my work! No extra cost to you, but I may earn a commission. Offers may change.