How to Add a Bra to a Swimsuit for Better Support
If you’ve ever put on a swimsuit and wished for just a little more support—you are definitely not alone.
The good news? You don’t need to draft a custom underwire swimsuit or hunt down specialty supplies. This clever, low-fuss technique uses something you probably already have: an old bra.
I’m sharing one of my favorite tried-and-true sewing hacks—how to sew a bra directly into a swimsuit. It’s practical, beginner-friendly, and works beautifully for both handmade and ready-to-wear suits. Read on or watch here:
The Swimsuit Pattern
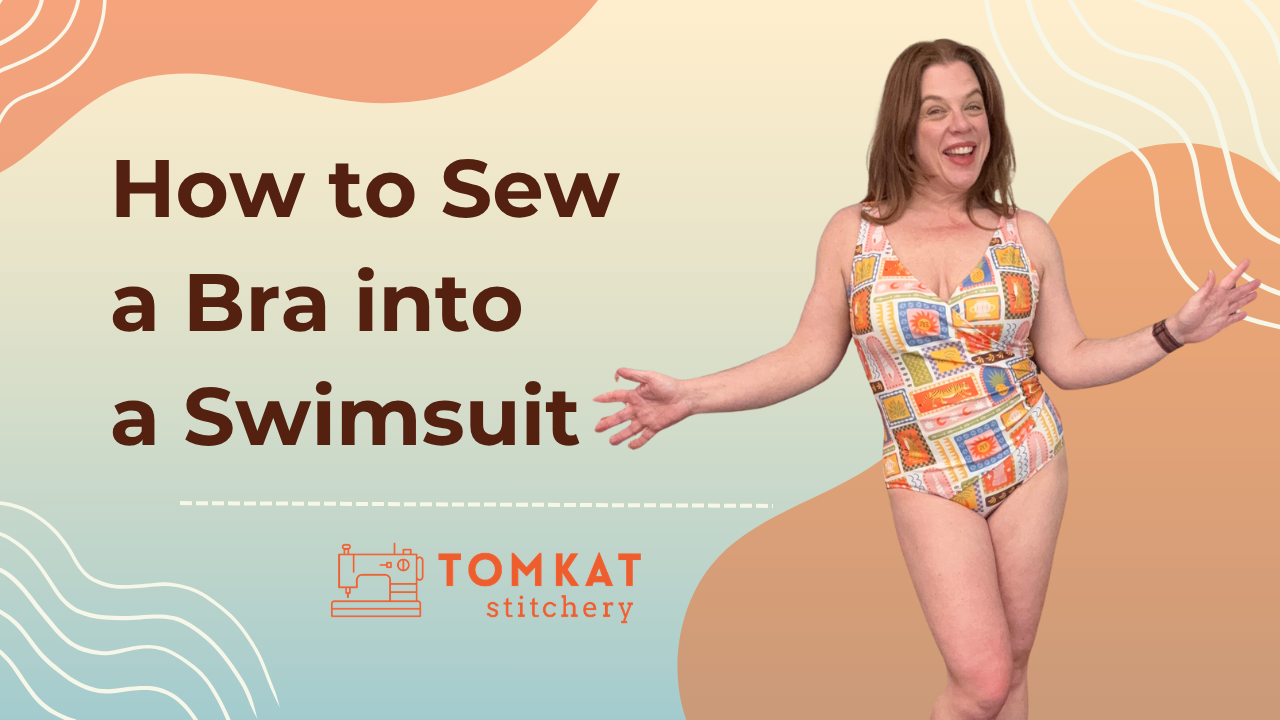
I used the Kwik Sew 3064 swimsuit pattern (now out of print), which features a flattering wrap-style front and multiple views.
While the exact pattern may be hard to find, this technique works on any sewing pattern or retail swimsuits:
- One-piece swimsuits
- Wrap or crossover styles
- Sports bra-style tops
- Bandeau styles (with some adjustments)
Important: This method will not work for molded cup swimsuits since those already include structured support.
What You’ll Need
- A swimsuit (handmade or store-bought)
- An old bra (underwire works great!)
- Pins
- Sewing machine
- Hand sewing needle + thread
Why Use an Old Bra?
Instead of tossing worn-out bras, Whitney keeps them in her sewing room for projects like this.
You’ll reuse:
- The cups
- The underwire structure
- The front support
And remove:
- The back band
- Most of the straps
This gives you built-in shaping without extra bulk.
💡Tip: Save the back band in your notions stash in case you need the closures for future sewing or a bra extender.
Step-by-Step: How to Sew a Bra into a Swimsuit
(The video tutorial starts at 4:38 of the video above)
1. Try Everything On First
Put on:
- Your bra
- Your swimsuit (over the bra)
This step is key because the swimsuit stretches and molds to your body—you want everything positioned exactly right before pinning.
2. Pin at Key Points
Carefully pin the bra to the swimsuit in these areas:
- Side seams: Align with the bra underwire
- Shoulder straps: Make sure swimsuit straps fully cover bra straps
- Neckline (if needed): Prevent the bra from peeking out
💡 Tip: If you can recruit a helper, this step gets much easier!
3. Remove Carefully
Take off the swimsuit and bra together, leaving all pins in place.
Then unhook and remove the bra from the swimsuit setup.
4. Sew the Shoulder Straps
Using a straight stitch, sew along the shoulder seams (“stitch in the ditch”) to secure the bra straps.
- A stretch needle is helpful
- Backstitch to secure
5. Attach at the Side Seams
- Trim the back band of the bra (leave about ¼")
- Fold it out of the way
- Sew the bra to the seam allowance only (not through the outer fabric)
⚠️ Be careful not to accidentally catch other parts of the swimsuit while sewing.
6. Remove Excess Bra Fabric
Once secured:
- Cut away the remaining back band and extra strap length
- Repeat on the other side
7. Hand Tack the Front
Using a needle and doubled thread:
- Tack the bra to the swimsuit at the neckline (if needed)
- Keep stitches small and discreet
Whitney notes that sometimes this step isn’t even necessary—but it helps keep everything perfectly in place.
What the Finished Swimsuit Looks Like
On the inside, it may not look “pretty”—but from the outside? Completely invisible.
And more importantly:
✔ Better support
✔ More structure
✔ More confidence
How Well Does It Hold Up?
Surprisingly well!
I did this exact method on one of my swimsuits and it has lasted 4–5 years with regular wear.
It’s ideal for:
- Pool days
- Beach lounging
- Casual swimming
(Not designed for high-impact activities like lap swimming or water sports.)
Final Thoughts
This is one of those sewing tricks that feels like a total game-changer once you try it.
It’s:
- Budget-friendly
- Beginner-friendly
- Incredibly practical
And it gives new life to something you might otherwise toss—your old bras.
If you’ve been frustrated with swimsuit support, this might be the simplest fix you’ll ever sew.