Pattern Hacking the Cashmerette Upton Dress: One Pattern, Three Dresses
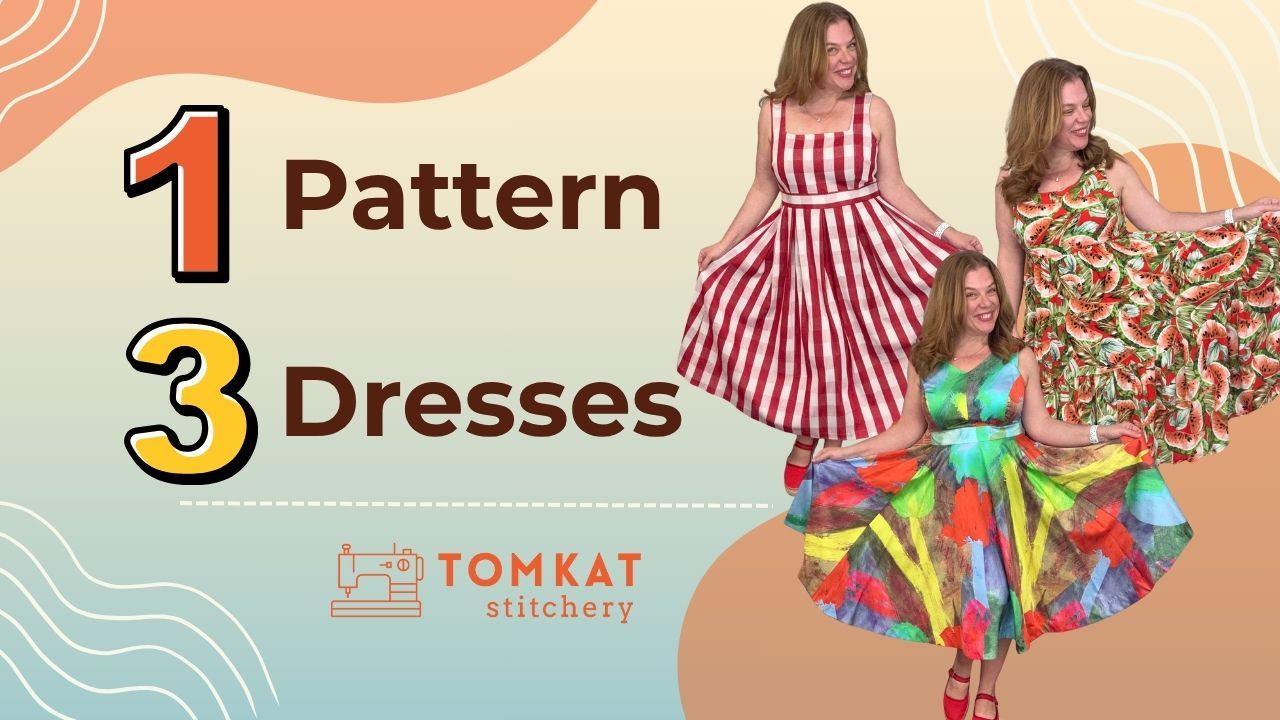
I'm diving into three creative ways to transform the Cashmerette Upton Dress* using simple skirt hacks and strategic fabric choices. As part of the Pattern Hackathon Tour hosted by Chris from Unsewcial on Instagram and YouTube, I’m sharing how you can get serious bang for your buck—and a boost in creativity—by reimagining one bodice into three completely different looks. Read on or watch here:
Why the Cashmerette Upton Dress?
The Upton Dress* is already a powerhouse of a pattern with its built-in options. The original version includes a darted, lined bodice in scoop or V-neck styles, and two skirt options: a pleated skirt or a gathered skirt. Cashmerette later released an expansion pack* with even more goodness: princess-seamed bodices (both darted and non-darted), additional necklines like a square neck, sleeves, various skirt lengths (mini, midi, maxi), and the option to make standalone skirts. It’s size-inclusive and built for customization, which makes it the perfect base for hacks.
“When you take the time to fit a bodice pattern to your body, you want to use it over and over—and the Upton makes that easy.”
Dress #1: The Original Pattern with Pleated Skirt
For the first dress, I used the pattern as-is with the darted, sleeveless bodice and a midi-length pleated skirt. I sewed it up in a structured cotton sateen with a gorgeous finish, adding a petersham ribbon hem for extra polish. This version is a great reminder of how impactful the original pattern can be when paired with the right fabric.
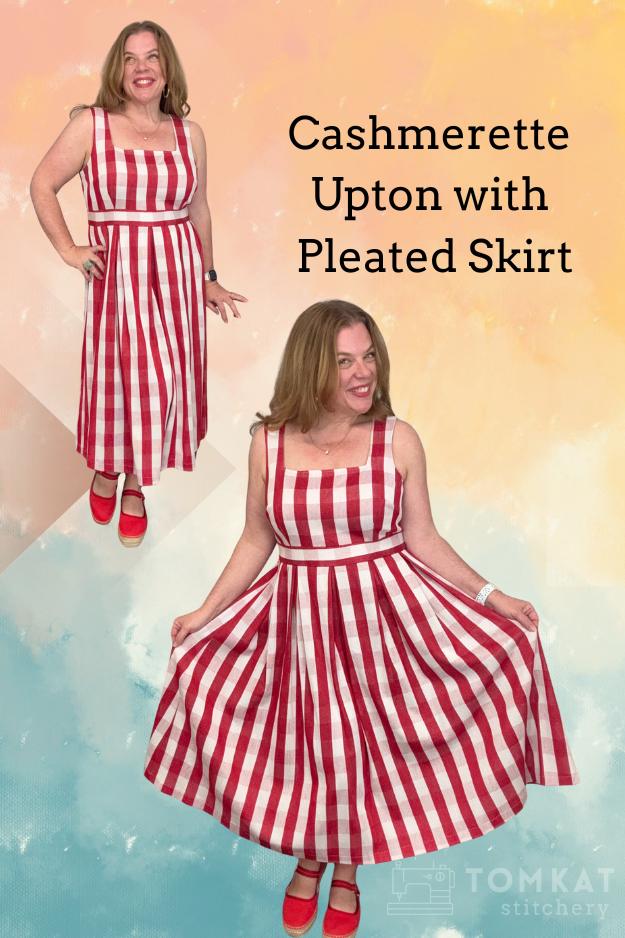
Fabric Used: Lightweight cotton gingham
Style Notes: Keeps hem straight—perfect for bold prints with linear designs.
Extras: Used waistband piece for definition
Dress #2: Upton + Circle Skirt
This second version features a DIY circle skirt that I drafted and attached to the same Upton bodice. I walk you through the simple math involved (don’t worry, I make it easy!) and show how to measure and draft your own custom circle skirt based on your bodice’s waist measurement. If you’re a Cashmerette Club member, you might already have the Gilmore circle skirt pattern* which is a great circle skirt that can swap in for the Upton Skirt, but if not—I've got you covered.

Fabric Used: Heavy cotton sateen
Style Notes: Structured look, great twirl, hem stays crisp.
Extras: Pleats omitted for a smoother finish
Step-by-Step: How to Draft a Circle Skirt
1. Find the Waistline Measurement
This can be your natural waist or, if you're attaching to a bodice (like the Upton), use the finished waistline measurement of the bodice.
Example: My bodice waistline was 34".
2. Do the Circle Skirt Math
Use the formula:
Radius = Circumference /2π
In other words:
Radius = Waist Measurment÷ 6.28
Using my measurement:
34 ÷ 6.28 = ~5.41", or about 5 ⅜" = Radius
Don’t stress about being overly exact—a small rounding difference is okay because the bias-cut fabric has a bit of give.
3. Set Up Your Paper
Use a sheet with a perfect 90° right-angle corner—this will represent one-quarter of the skirt. You’ll be drafting one-quarter of your circle skirt.
4. Mark the Radius
From the corner point, use a ruler to measure out your radius (e.g., 5 ⅜") in a curve, marking every inch or so to create the waistline arc. Connect the dots to form the curve.
5. Decide the Skirt Length
Choose your desired length and measure down from the waistline arc to mark the hem in the same curved way.
Note: In the video, I used a short length for demonstration purposes, but your final skirt can be as long as your fabric allows.
6. Connect the Hemline Curve
Draw the hem by connecting the curved dots. You now have one-quarter of your full circle skirt!
7. Cut and Add Seam Allowances
You’ll need four of these pieces for a full skirt. Depending on how you cut your fabric:
✂️On the fold? Don’t add seam allowance on the fold edge.
✂️Cutting panels? Add seam allowance to both side edges.
Make sure to label your pattern piece accordingly.
💡Pro Tip:If your fabric isn’t wide enough for a full circle at your desired length, consider cutting your skirt in panels, like the Cashmerette Gilmore Skirt*. That makes layout and cutting easier—and can add a bit of visual interest too.
Dress #3: Upton + Tiered Gathered Skirt
This final version is all about the flow! I swapped the skirt for a three-tiered, gathered style made from a viscose (rayon) crepe. Each tier is double the width of the one above it for maximum twirl. I give you the math breakdown and sewing tips for building this boho-inspired, floaty silhouette. Bonus: it's an ideal summer dress!
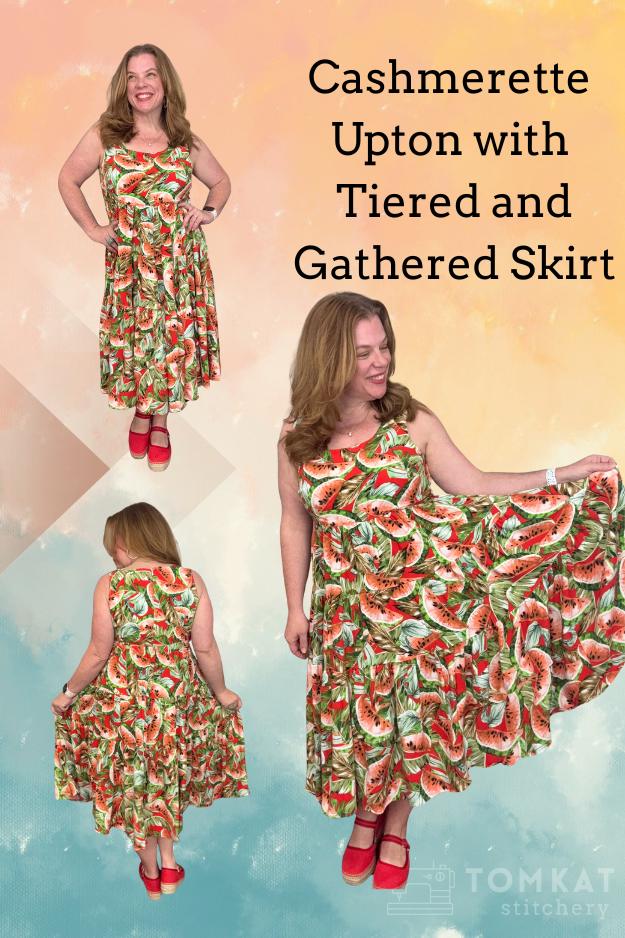
Fabric Used: Viscose (rayon) crepe
Style Notes: Light, breathable, ultra-drapey and romantic
Extras: No waistband to preserve large-scale print
Step-by-Step: How to Draft a Tiered & Gathered Skirt
- Start with Your Finished Bodice
Before adding the skirt, make sure your Upton bodice is:
- Fully constructed with lining and understitching complete
- Back left open (no zipper yet)
- Waistband optional (I skipped it to avoid breaking up the large-scale print, but you could add one for contrast)
Note: The zipper goes in after the skirt is attached.
- Measure the Waistline
Use the finished waist of your sewn bodice or measure the pattern piece directly.
Example: My bodice waist measured 34".
- Choose Your Gather Ratio
I used a 2:1 gather ratio—each tier is double the width of the one above. You could do 1.5:1 or 3:1 depending on how full you want it.
Here’s the math:
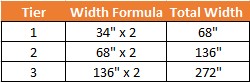
Total strip length needed: 68" + 136" + 272" = 476"
- Calculate How Many Strips to Cut
Use your fabric width to figure out how many strips you’ll need.
My fabric was 54” wide, so:
476 ÷ 54 = 8.8 → round up to 9 strips
💡 Pro Tip: If you’re using a serger with a ruffling foot (which may over-gather), cut 10 strips to be safe.
- Choose Your Tier Heights
I planned to make all my tiers 8” tall, but had enough leftover fabric to make the bottom tier 15” tall for extra length.
You can totally customize this based on your height and how much fabric you have. Nothing’s set in stone!
🧵 Sewing the Skirt
- Join the Strips
You’ve got two options here depending on your gathering method:
Option A: Using a serger/ruffling foot
- Sew all your strips into one long piece (~10 strips).
- Start gathering and trim to each tier length (68", 136", 272") as you go.
Option B: Gathering by hand
- Cut exact lengths for each tier:
- Tier 1: 68"
- Tier 2: 136"
- Tier 3: 272"
- Gather each tier to match the tier above.
- Assemble the Tiers
Start from the bottom up:
- Gather Tier 3 to match Tier 2
- Gather Tier 2 to match Tier 1
- Gather Tier 1 to fit the bodice waist
Make sure to keep the back open as you go—this will allow you to insert the zipper at the end.
- Attach to Bodice and Finish the Back
Once all the tiers are assembled:
- Attach the top tier to the bodice
- Sew up the back seam of the skirt
- Insert the zipper according to the Upton pattern instructions
Want Help Sewing a Dress Like This?
If you're new to garment sewing or just want a little guidance, I offer Introduction to Garment Sewing where I cover all the techniques you’d need to make these dresses—zippers, linings, seam finishes, and more. You can find this class and others in the Shop page
And if you’re eyeing the Upton pattern*, I’ve got a 20% discount code available on my Resources page for all regular catalog patterns at Cashmerette!
Final Thoughts
With just a few simple hacks, the Cashmerette Upton* becomes a pattern that can take you from crisp, structured party dress to breezy summer twirl-fest. Once you’ve got a bodice that fits you well, the sky’s the limit. Whether you add a circle skirt, tiers, or try something new entirely, this pattern proves that a little math and imagination can stretch your sewing farther than ever.
*Affiliate links included—thank you for supporting my work! No extra cost to you, but I may earn a commission. Offers may change.