Sewing Magic Pants with a Little Help from SewTites Magnetic Cutting System
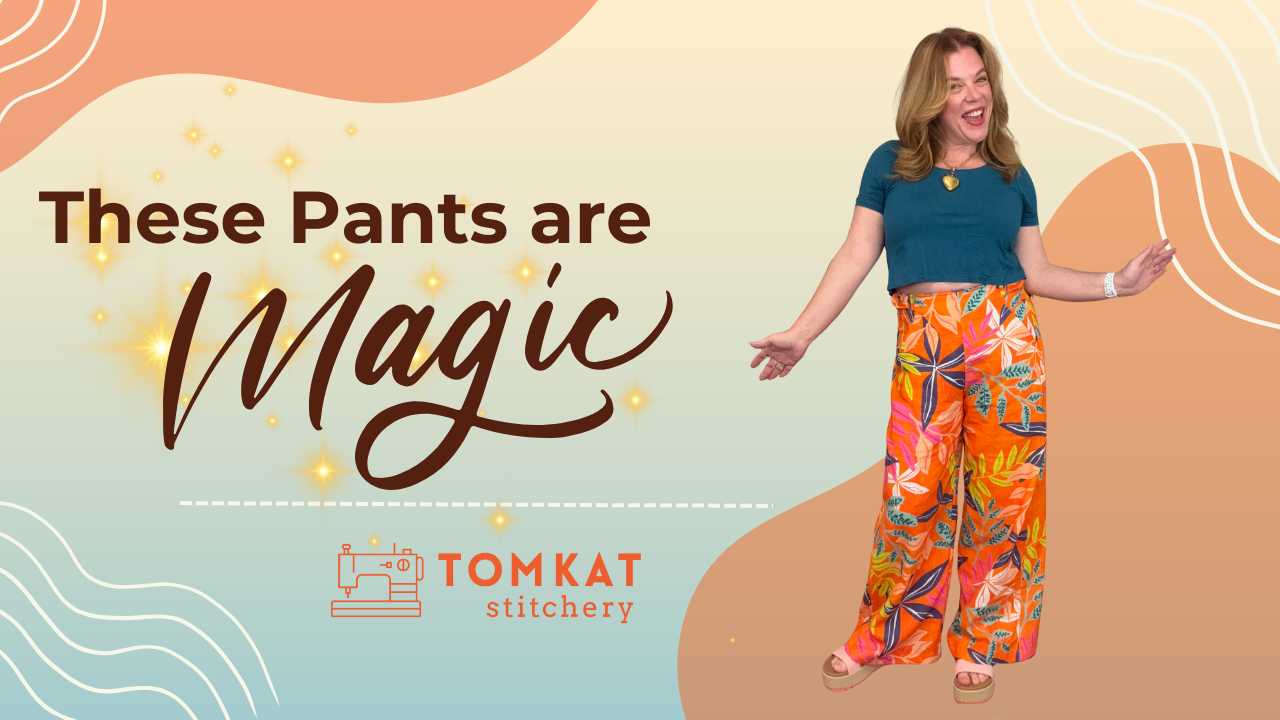
Jenni and I jumped into a fun project that lives up to its name—the Magic Pants. Yes, that’s really what they’re called, and honestly, they feel a little magical once you sew them up. A kind viewer suggested we try the Ann Tilly Handmade Magic Pants, and once we saw the pattern, we were sold. Cute, comfy, and clever—these were calling our names. But before the real “magic” of sewing them began, we had an excuse to try out something brand new in the sewing room. Read on or watch here:
First Impressions: SewTites Sew Magnetic Cutting System
If you follow me on Instagram, you may have already seen that I recently splurged on the SewTites Sew Magnetic Cutting System*. Friends, I'm not exaggerating when I say it’s a game-changer.
Here’s the scoop:
- They’re huge, the largest SewTites makes at 24" x 42"!
- Each comes with a 8.5" x 24" Sew Magnetic acrylic ruler and 16 powerful booster magnets.
- I actually pre-ordered two, and let me tell you, I have zero regrets. 😉
SewTites tools have mostly been known in quilting circles* (those quilters always get the good gadgets first), but now they’re expanding more into garment sewing. And let me just say, it’s completely changed projector sewing for me. Instead of fabric shifting around when using a rotary cutter, these boosters* lock everything into place like cement. Whether I’m cutting knits or wovens, nothing budges.
Jenni tried it, too, and her perfectionist heart was absolutely thrilled. She lengthened her pants by five inches, and the SewTites Sew Magnetic ruler * held everything perfectly steady as she marked and cut. No more slipping or guessing, just crisp, straight lines. Her verdict? She’s “jacked about this” (her words, not mine) and ready to cut out all the things with the projector now.
We both agree that this cutting system makes sewing easier, faster, and honestly, more fun. And if you’d like to try one yourself, we’ve got a 10% off discount code for you: use TOMKAT10 at checkout on any SewTites* product.
The Magic Pants: A Sewing Pattern Review
Once we had our fabric cut out, it was time to dive into sewing the Ann Tilley Handmade Magic Pants. This pattern comes in multiple formats—projector, print-at-home, and even a printed paper copy—so no matter how you like to sew, you’ll find an option that works.
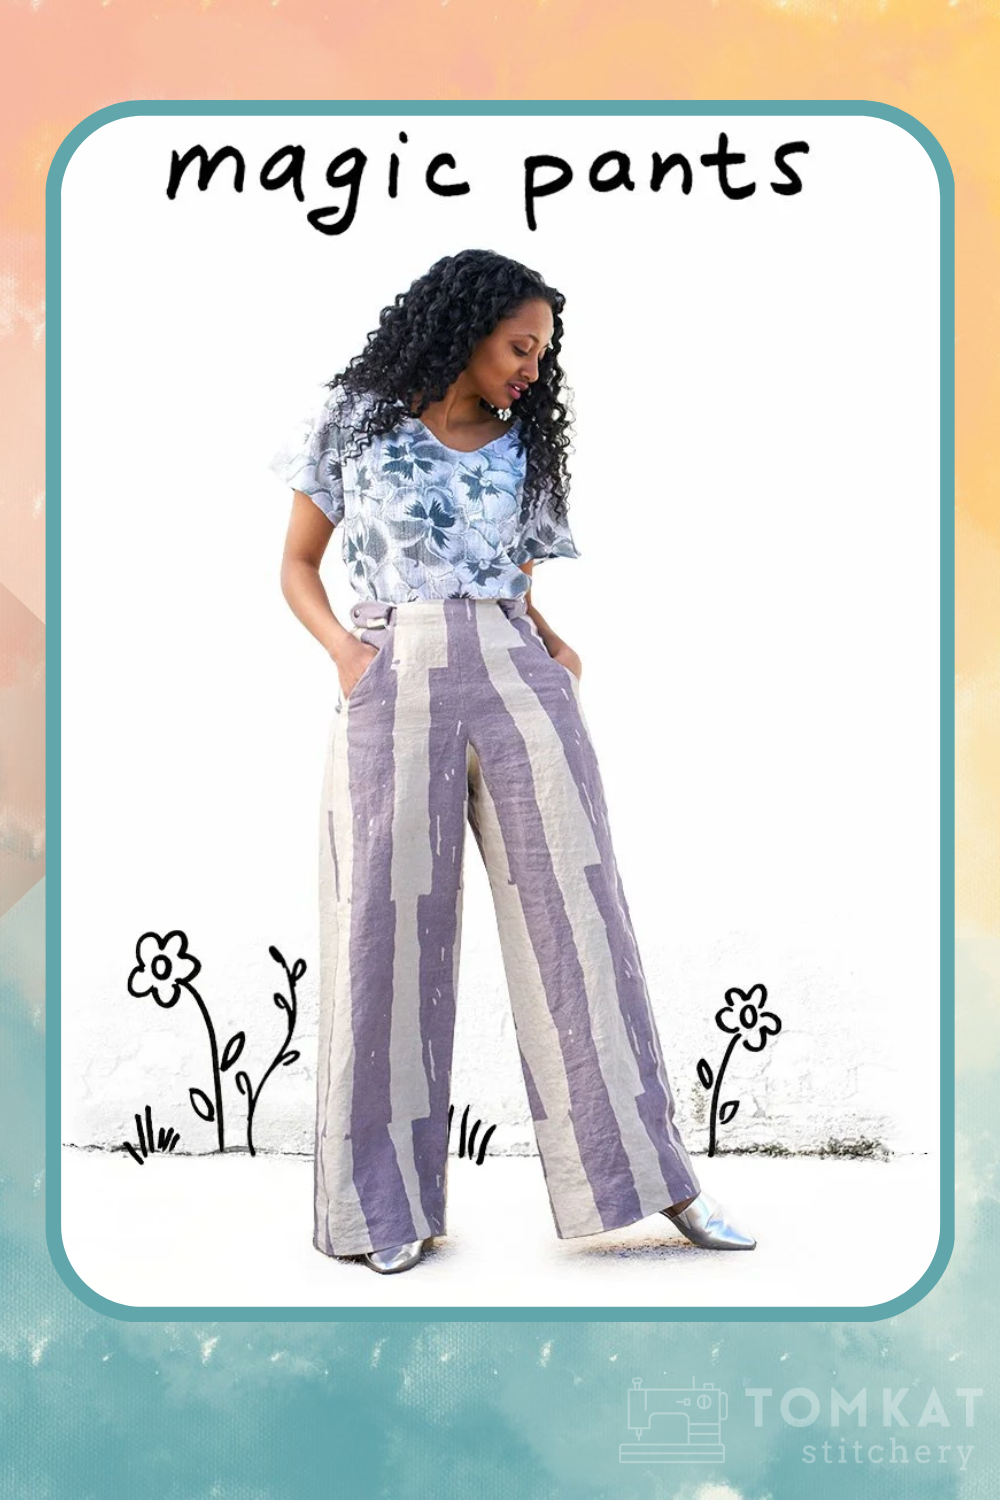
When you first look at the pattern pieces, it’s honestly a little mindboggling. The design doesn’t look like any pants I’ve made before. But here’s the secret: don’t get ahead of yourself. Take the instructions one step at a time. Not only are they clear, they’re also hilarious—little jokes sprinkled throughout keep things lighthearted as you sew.
Jenni and I stitched ours up side by side (not racing, but maybe racing🏁), and it took us about four hours start to finish. That makes this a perfect project for a football game afternoon or a cozy evening of sewing. And best of all? It’s truly beginner-friendly.
Fit & Sizing
- We both made a size Medium, which worked well for our measurements.
- Jenni graded out slightly at the hips but could have stayed with Medium overall.
- Both of us lengthened—Jenni by 5 inches and me by 2—to get the full-length look.
- The size range runs from 2XS- 6XL, and based on our experience, it’s a very approachable fit for a wide range of sewists.
The Magic is in the Details
Here’s where these pants really shine:
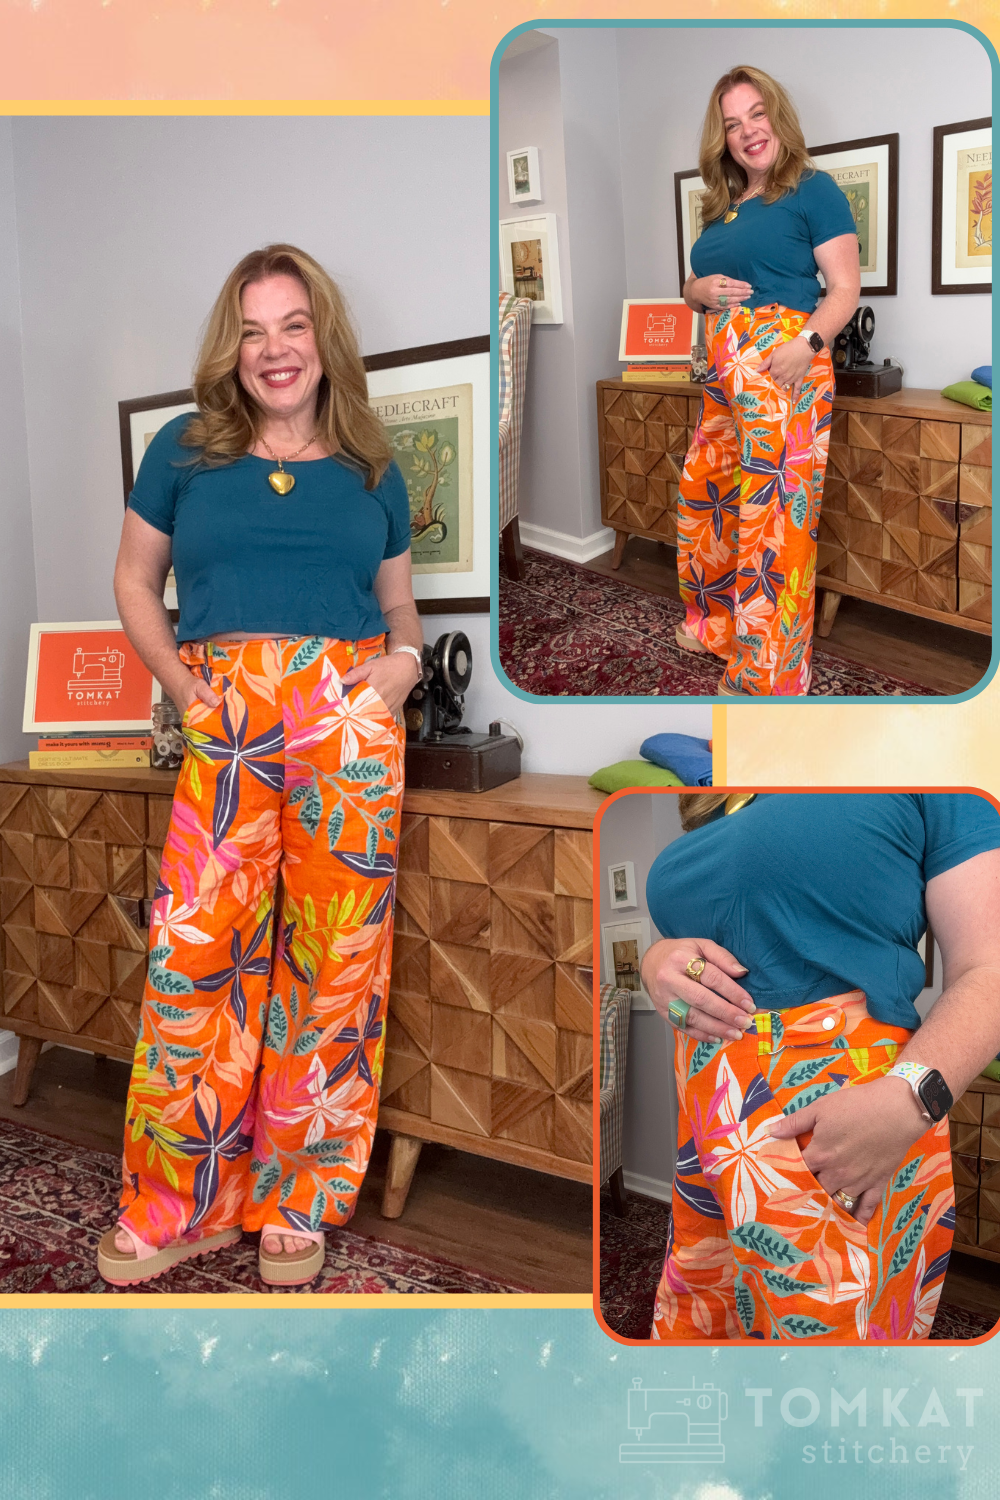
✨ No waistband, no fastenings – Instead, there’s elastic across the back that attaches to straps. This makes them super forgiving for waist fluctuations.
✨ A clever knit panel – Hidden beneath the front flap, the panel expands and contracts, offering comfort and a smooth finish. Jenni used a rib knit and I used ponte. You could use power mesh here to give you some more support. We can even imagine this being maternity friendly by making the knit panel a little wider.
✨ Fully functional pockets – And I mean real-deal, deep pockets that fit a phone. Not those “tiny girl pockets.”
✨ Finishing touches – Lots of twill tape keeps the waist and seams stable (especially in linen, which can grow). Next time, we’d add it to the pocket edges too for an even cleaner finish.
✨ Adjustable waist straps – the D-rings loop the straps which are fastened with snaps. We both used snaps with the snap press, but a bold button could be a fun design feature.
✨ Rainbow serger thread* – Optional but highly recommended for sewing happiness.🌈😊🧵
Fabric Choices
We went with linen blends for both pairs:
- Jenni’s pants – A linen-rayon blend from Sewing Studio . Lightweight, breezy, and super comfy. Sewing Studio carries similar fabrics, and you can get 15% off your favorite with code TOMKAT15* at checkout.
- Whitney’s pants – A 100% linen from Minerva*, one of their new exclusive substrates in a vibrant print. It was a dream to sew and wear, and I may even make a matching top with her leftovers.
Both fabrics made for great transitional wardrobe pieces.
Our Final Thoughts
These pants are more than just a fun sew—they’re confidence builders. For Jenni, they were her first real structured pants project, and finishing them was a huge “I can do this!” moment. For me, they’re versatile, comfortable, and totally wearable!
We both agreed:
✔️ Beginner-friendly
✔️ Super comfortable for all-day wear.
✔️ Packed with clever design details.
✔️ A perfect transitional piece heading into fall.
*Affiliate links included—thank you for supporting my work! No extra cost to you, but I may earn a commission. Offers may change.


